Followers

Showing posts with label Debbi Moore. Show all posts

Wednesday, 29 May 2013

Fab'n'Funky Challenges #173 - One for the Girls

Hi Everyone,

We are back to Wednesday again and I'm not sure I like how fast this year seems to be going!  I doubt it will slow down though!

Wednesday means a new challenge at Fab'n'Funky Challenges but it also means that the winners and Top 3 from last week have been chosen.  All the details can be found over at on the F'n'F blog.

We have our blogging Mama as our host this week - the fabulous Judith.  I love the theme this week as it it totally me!  So without further ado our theme is...


One for the Girls

Just make a female-themed project and link it up - couldn't be simpler!  We have two sponsors this week too.  My Creative Classroom and StampArt Design by Kathryne.  Two sponsors means two winners so let's get crafting!  

This is my card for the challenge - the girly elements are the butterflies, pearls and decorative edging.  


I used a StampArt Design by Kathryne image for my card called Butterfly Border 1 and coloured with FlexMarkers in Aquamarine, Surf Blue and Navy Blue.  I inked the edge with Tim Holtz Distress ink in Antique Linen for an aged effect.
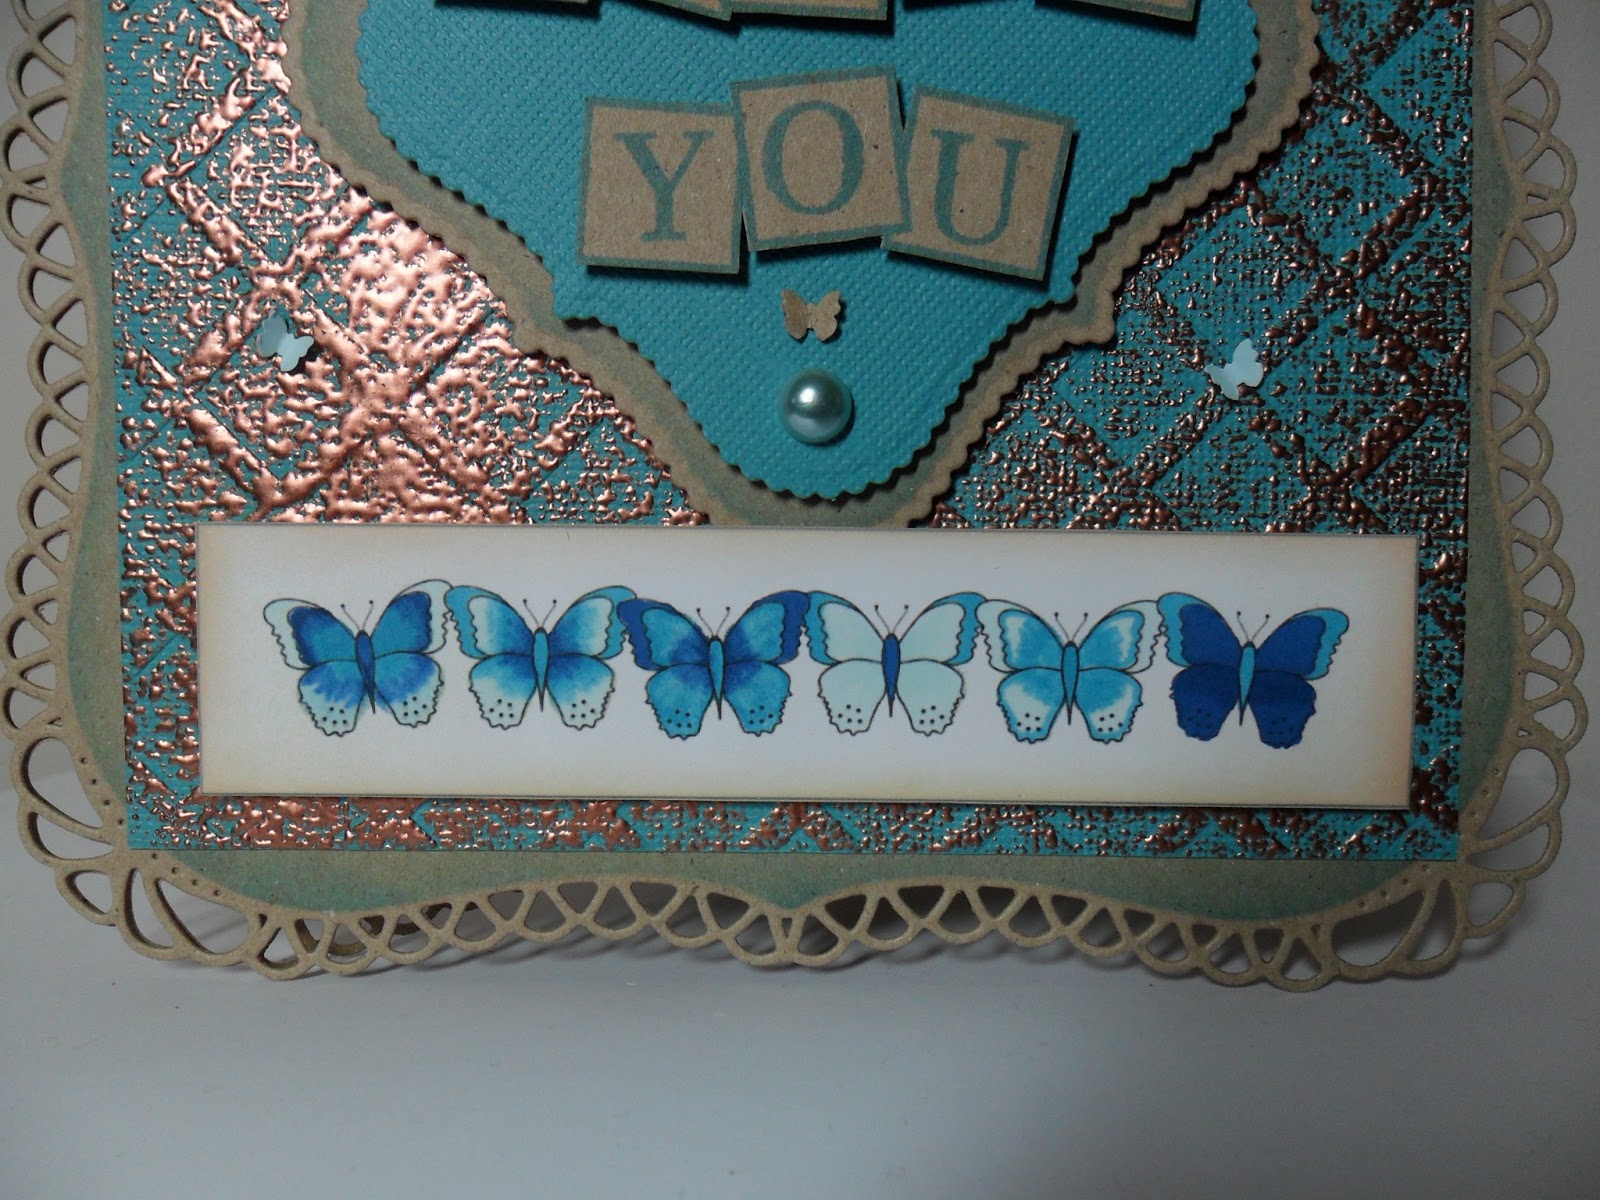

My base card was made from two of the Spellbinders Grand Decorative Labels One cut in kraft card.  I attached with the super stick red liner tape.  While still in the die I inked through with Tim Holtz Distress Ink in Broken China.  My main background was made with Coredinations cardstock.  I embossed using the lattice Embossalicious folder from Crafter's Companion and then lightly brushed a Versamark inkpad over the top.  I added Debbi Moore's metal magic and heated from behind with a heat tool.  I really like the effect that this has created.


My sentiment topper was created with Spellbinders Scalloped Labels One in kraft and Coredinations.  Using Claritystamp's Letterbox Alphabet set and Broken China Distress Ink I made the sentiment as I wanted.  The squares come as triple, double and single boxes so I after stamped the triple box, I masked it off and then used the double box stamp to create a five letter space for my wording.  Claritystamps really are the best quality I've ever had the pleasure to use.  My tiny butterflies were punched using a Tonic punch and I just coloured a piece of super smooth paper with the Aquamarine FlexMarker to get the perfect match.  The pearls came free from Create and Craft a while back.

I really hope to see you join us for our girly challenge this week.

Happy crafting,
Rachel x

I'd like to enter this card into the following challenge:-
Shelly's Images - Show Us What You Got

Friday, 22 March 2013

Butterfly Delight

Hi Friends,

I'm back with another card and if anyone was watching Ideal World last night you might have seen a sneaky peek!  When I saw all the wonderful embossed cards on the Crafter's Companion Embossalicious Pick of the Day show at 9pm I set about making one of my own!  I emailed in on the 11pm show and they showed it on air!  Mega cheesy grin!  So without further ado, here is the card in question...


Funnily enough I've used the same colours as our current challenge on Fab'n'Funky Challenges - pink, green and brown.  Head on over to the blog to see my teamies inspiration.  We have a great prize from MayzyArt too.

My base is a piece of pink Centrua Pearl cardstock.  I used an 8x8 Embossalicious folder on kraft card for the next layer and it is such a pretty flourish design.  Must use this more often!  My green doilies were cut using a Cheery Lynn die called French Pastry.  The green paper is from the Garden Fairies CD-ROM set by Debbi Moore.  I cut two of the Spellbinders Decagons for my main topper and then added a butterfly from the Spellbinders Les Papillion Two set.  My clear gems are from Create and Craft.  Finally my sentiment is stamped in black and I actually bought this stamp from ebay.  I was really impressed with the quality.  Another great bargain! 


Hope you are all having a great week.  I've totally blown my crafty budget this month with all the great deals on Create and Craft.  Oops!  I can't wait for the post man to bring them to my door.  Has anyone else bought any new goodies lately?  I'd love to see what you've made.

Happy crafting,
Rachel x

Challenges entered:
Cheery Lynn Designs Challenge Blog #72 - Think Spring
My Creative Time - Tic Tac Toe (top line - use a die, embossing and bling)
The Perfect Sentiment PSC71 - Fairies or Butterflies

Friday, 25 January 2013

On Your Anniversary - Debbi Moore

Hi Everyone,

It's the weekend! Yippie!  That means non-stop crafting for me!  Well, I might have to give in and tackle the ironing at some point!

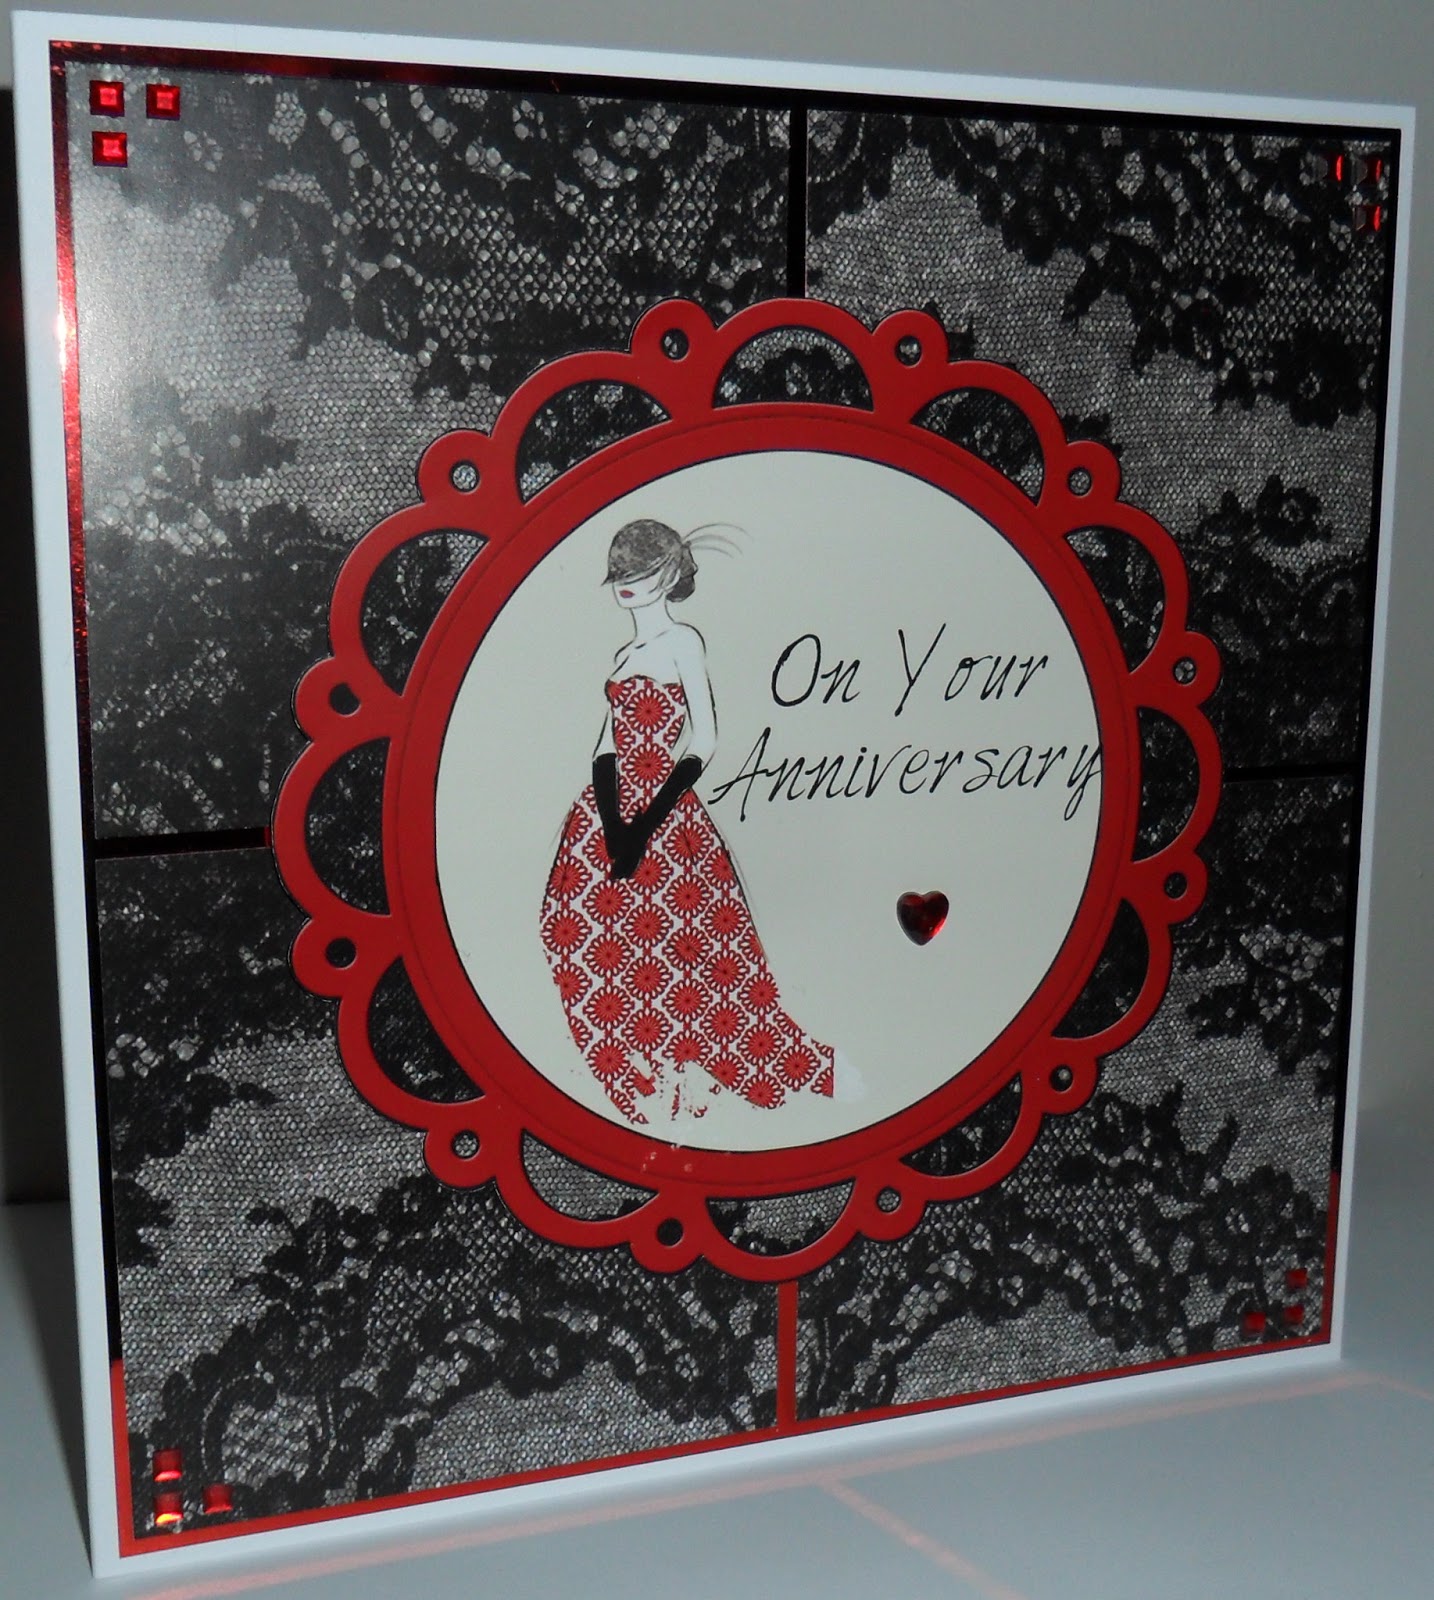
I've been playing with the paper kit that came with my latest Debbi Moore Inspirations magazine and have made an anniversary card for you tonight. 


I went with the red and black colour combo and really like the papers that came in the magazine.  I have to admit that I have ordered the matching Create and Craft Pick of the Week even though the crafty budget has been well and truly blown this month.  Oh well, it's an investment!

I started with an 8" cardblank but cut it down to 7.5" square on my Tonic guillotine.  I certainly couldn't craft without my guillotine.  I added a layer of red mirri-card and then topped with the four squares of lacy patterned paper.  I fussy cut the topper and added with shaker tape for a slightly raised look.  I topped with a red heart gem using Cosmic Shimmer glue to adhere.  

My finishing touch was to add the three gems to each corner.  These weren't self adhesive so were a little bit fiddly.  I used the same glue here.

Here is a close-up of that lovely topper


And now for a sideways view


I hope you are all having a great weekend and have avoided the dreaded snow.  We've been really lucky here and only had a little flurry that hasn't stuck around.  I really hate the ice though and that has appeared a bit more than I would have liked.  Anyway, wishing you all a great and crafty weekend.

Happy crafting,
Rachel x

Saturday, 6 October 2012

Spellbinding Fun!

Hi Crafty People,

I'm having a rather lazy Saturday.  It started off great with a workout and then some crafting but I've really done nothing this pm!  I thought I would show you what I've been working on this weekend though.  I sent in an email to Leonie on Create and Craft this morning but I think I was just out of time.  :(  There's always next time though.

The world exclusive Spellbinders Pick of the Day that was on C&C a couple of weeks ago was just to die for!  Geddit?!  The dies are called D-Lites as they are smaller but more intricate in style.  I can't chose my favourite yet but this one is definitely in my top 5!


I used the smallest of the Spellbinders Grand Dahlia dies to make my card blank and then stamped around with Tim Holtz Dusty Concord Distress Ink, using a Debbi Moore flourish stamp.  The centrepiece is made from the D-Lites and this is Medallion Four.  The base is silver-mirri paper and then topped with an inked purple layer.  I cut the sentiment stamp from the Ribbon Banners set and then inked thought with DC DI again.  The butterfly is also a Spellbinders die and came from the Butterflies Two set, which was inked within an inch of it's life too!  I added a diamante to the centre of the butterfly for extra bling. 


I would like to enter this card into the following challenges:

Totally PaperCrafts #137 - Let's See Those Shapes
Make It Monday #109 - Anything Goes
By The Cute and Girly - Birthdays

Thanks for stopping by.  I hope you are having a great World Card Making Day 2012.

Happy crafting,
Rachel x

Sunday, 26 August 2012

Dragonfly Fun

Hi All,

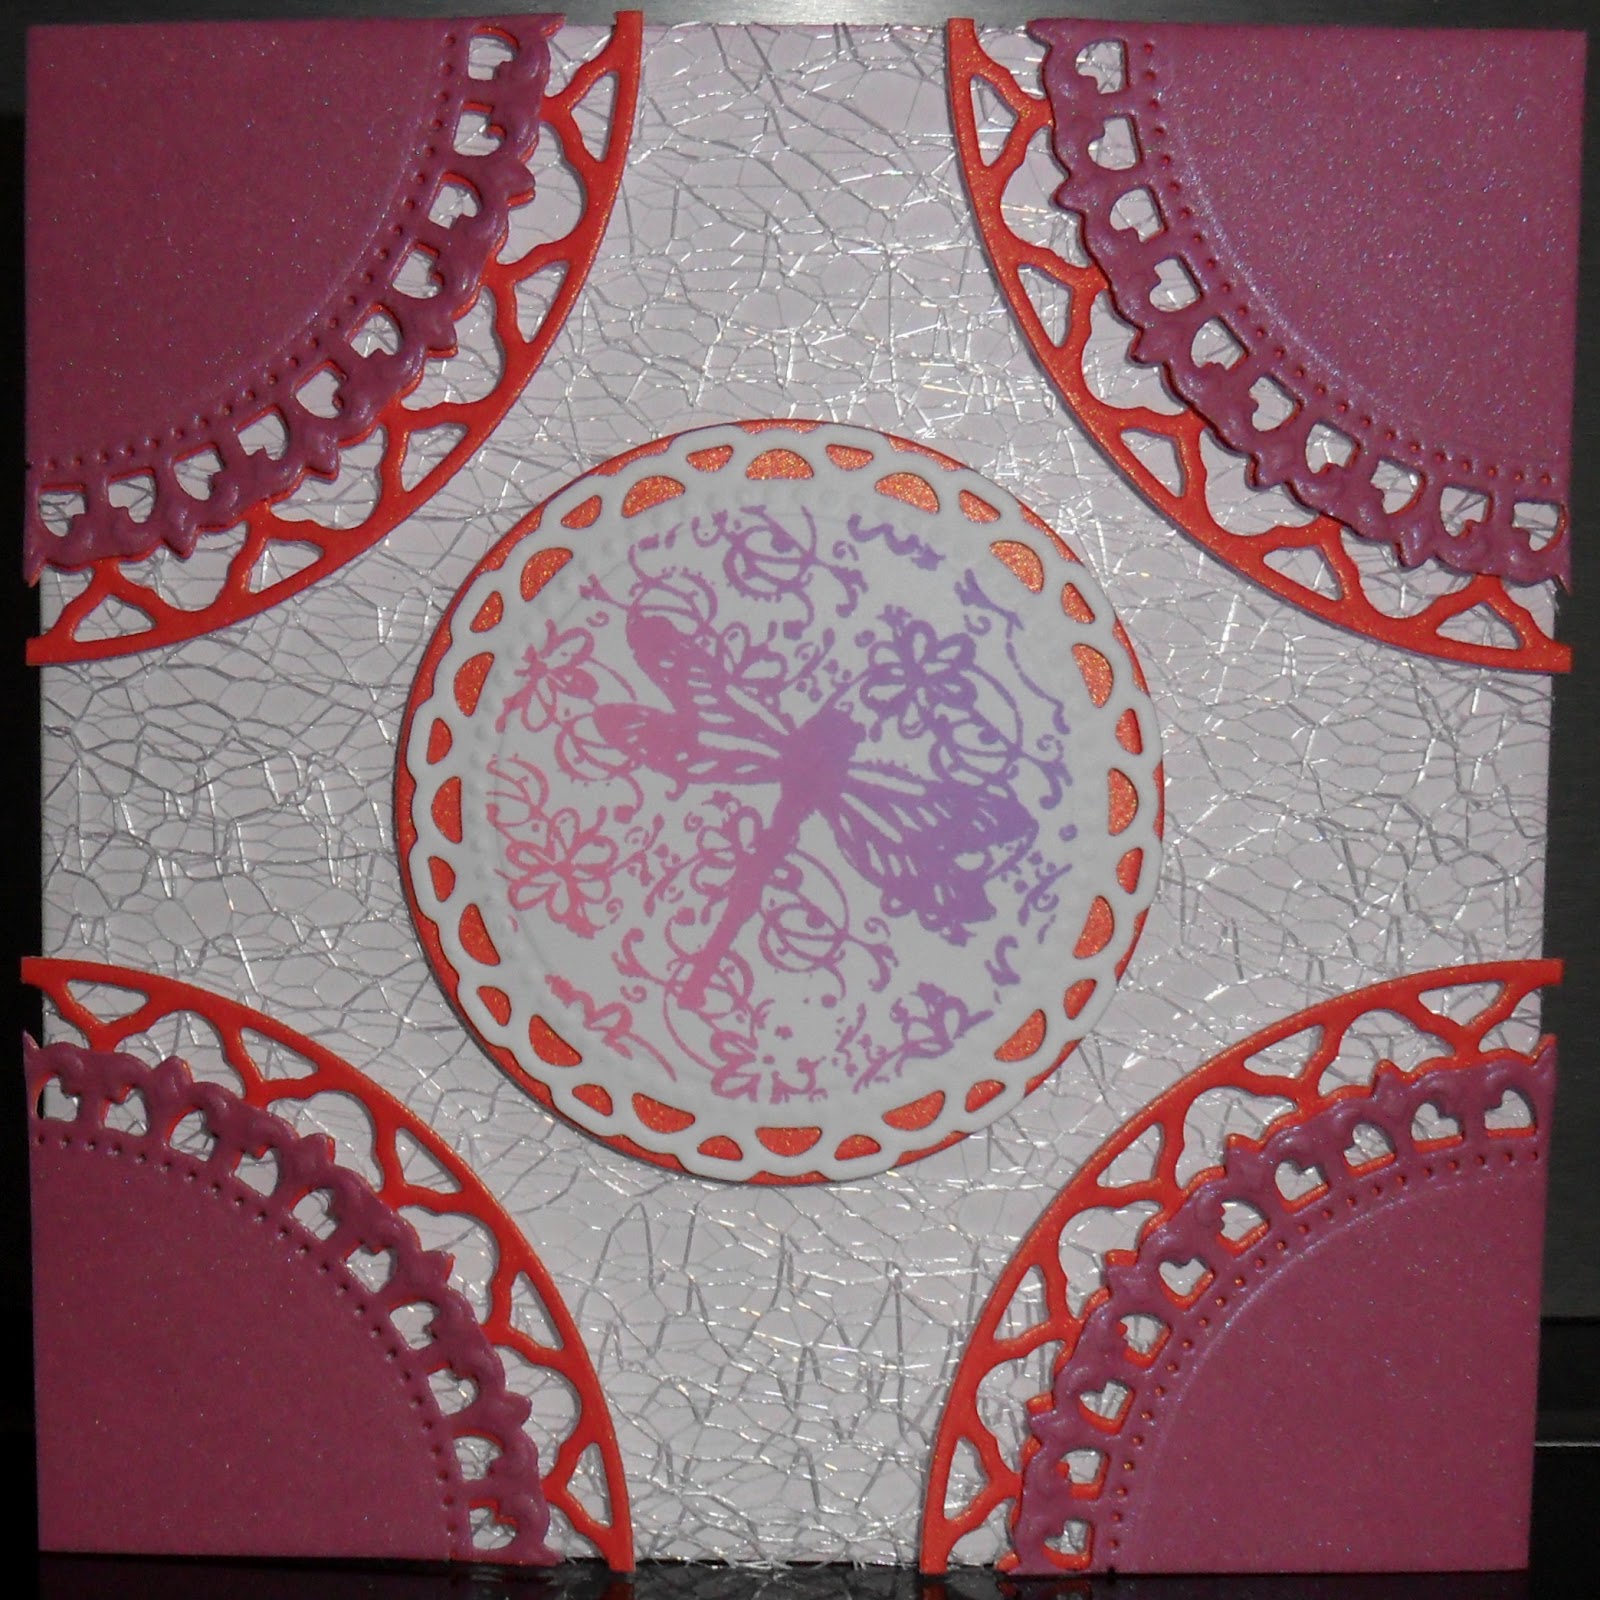
I've been crafting again!  This time I've used Spellbinders, Debbi Moore and Kanban to make a dragonfly card.  I started by brayering the card blank with my Big and Juicy Soothing Sunset inkpad.  I played it a little too safe and removed too much of the ink from my brayer so it's extremely subtle.  The white mesh is from Kanban and it is so fabulous!
 

I cut two of the largest shapes from the Spellbinders Splendid Circles and then cut them into quarters.  I trimmed the outer edge from the pink layer and mounted with foam pads. 


The dragonfly stamp from Debbi Moore was inked up the the Big and Juicy Soothing Sunset and then cut with the Spellbinders Splendid Circles.  I mounted this onto a circle cut my X-Cut dies.


Unbelievably, this photo was taken at the same time as the top one!  My camera has a mind of it's own sometimes!

Hope you've all had a splendid weekend.

Happy crafting,
Rachel x

Wednesday, 25 July 2012

Fab'n'Funky Challenges #131 - No Stamped Images

Hello Crafty Friends,

We loved your handmade flower projects last week - a great variety.  Check out the Fab'n'Funky Challenges blog to see if we picked you as our lucky winner.  The Top 3 have also been posted.  Don't forget to grab those badges too.

I had better get cracking with this week's challenge.  The talented Ginny is our host and she has chosen a clever challenge...

No Stamped Images

I kept going to reach for my stamps and then realised that I wasn't allowed!  In the end I created a Spellbinders card.  Not quite up to Sue Wilson standard yet but I do love checking out her inspirational blog. 

Our sponsor this week is Joanna Sheen.  The lucky challenge winner will receive a £10 gift token to the Joanna Sheen store


I began by printing out my patterned snowflake paper from the Debbi Moore Shabby Chic Christmas CD-ROM.  There are loads of great papers on this CD so it was hard to choose which one to print first!

My card blank was made with Spellbinders Grand Labels Eleven.  I also cut the base layer with this Label but used the next size down.  The next layer is silver mirri-board cut using Spellbinders Labels Twenty.  I topped this with the Cheery Lynn Frency Pastry die in the DM paper.  This is the first time I've used a Cheery Lynn die and was really impressed with them.  I have another die that I bought at the same time but I'll keep that one for another time!

My snowflakes were also Spellbinders and I used 2011 and 2012 Snowflake Pendants.  I attached these with either foam pads or Cosmic Shimmer dries clear glue from Creative Expressions.  I added a silver pearl to the middle with the silver Cosmic Shimmer glue.  This is also how I made the pearls around the edge.

Don't forget to check out the other DT members' creations.  Can't wait to see what you come up with for our challenge.

Happy crafting,
Rachel x

Tuesday, 17 July 2012

Oh Christmas Tree

Hello Crafty Friends,

Second post this week already!  Can you tell I've been on holiday since last week?!  I said I was going to make 3 Christmas cards a day while I was off but I've only managed 3 so far and I've been off for a week!  Ah well, it's only July!

This is a super sparkly card today.  I love making sparkly things!


I started with three wooden tree embellishments and inked up a swirly Debbi Moore stamp with Versamark.  I stamped on to the trees and then added Cosmic Shimmer embossing powder which was heated with a heat tool.  I added Tim Holtz Bundled Sage Distress Ink over the top of the embossing so that the swirls resisted and made more of an impact. 

To make the backgournd, I took a piece of Create and Craft pearlescent cardstock and used the same DM stamp with Versamark to make the patterns around the edge.  I also used the Cosmic Shimmer embossing powder here too.  The ribbon was originally cream seam binding which I coloured with the Bundled Sage DI.  I added a Creative Expressions dazzler to the centre of the ribbon with Pinflair Glue Gel.


Hope you are all having a good week with plenty of crafty time.

Happy crafting,
Rachel x

Monday, 16 July 2012

Snowy Street

Hi All,

Another Christmassy card for you today.  I've been making a good start on them this year.  Although I'll need to pick up the pace if this year carries on going so fast.


I printed the papers and topper from the Debbi Moore Victorian Christmas CD-ROM.  The topper was originally a full A4 sheet so I used my printer properties to reduce the size by 75%.  This is the first time I've done it this way and it worked a treat.  The red cardstock is Cor'dinations.  I also used Cor'dinations for the holly border and corners.  These were cut using Spellbinders Holly Accents .  I raised the border with foam pads to hold up my easel card.

Finally I used my Quickie Glue Pen to add dots of glitter all over the topper.  The glitter was from My Craft Studio.  I hope you can see it from the photo.

I would like to enter this card into the following challenges:

1.  The Crazy Challenge - #124 Christmas in July
2.  Crafty Sentiments Designs - Christmas in July
3.  The Pink Elephant - TPE156 Christmas in July
4.  Divas by Design - #43 Christmas in July
5.  Hooked On Craft - #22 Christmas in July

Has anyone else started their Christmas crafting?  How are you getting on?  I've resisted putting on my favourite Jim Reeves CD so far but it might be time to get him singing "White Christmas" soon!

Happy crafting,
Rachel x

Saturday, 6 August 2011

Love at Christmas


Confession time - my name is Rachel and I'm addicted to glitter!  The images on the Debbi Moore Art Deco Magical Christmas just call out for glitter and to make Debbi proud I added two different types to this card!  I put down ultra sticky tape (the red one) and then rubbed in ultra fine gold glitter.  I think I would probably use a narrower tape next time though.  The image was printed from the CD-ROM onto Super Smooth Decopage paper and then glittered using Diamond Sparkles and a quickie glue pen.  I mounted it onto a piece of gold paper to tie in the glittery frame.  Very simple card but with glittery impact!